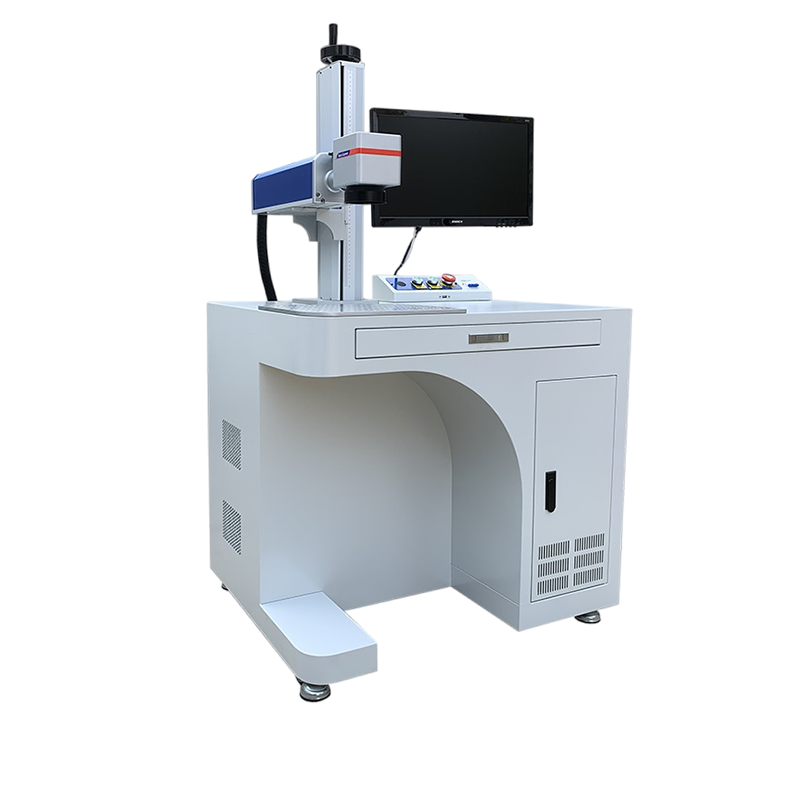
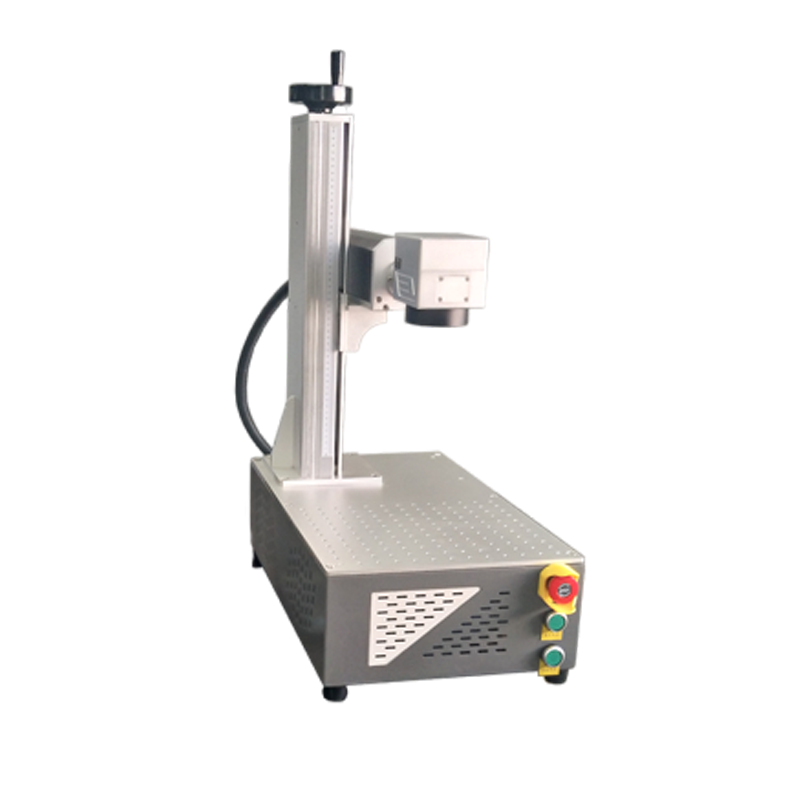
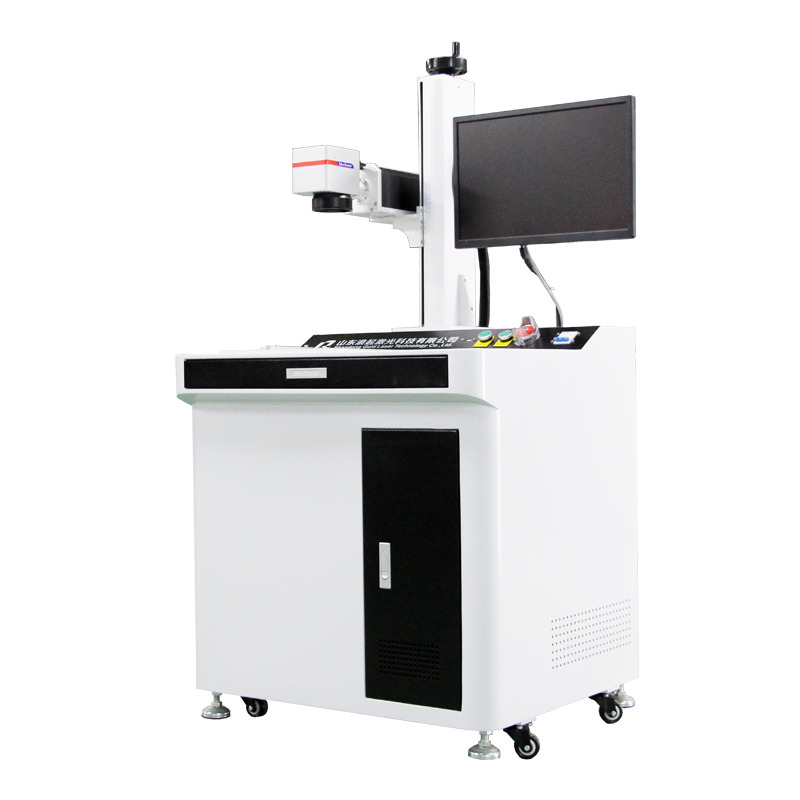
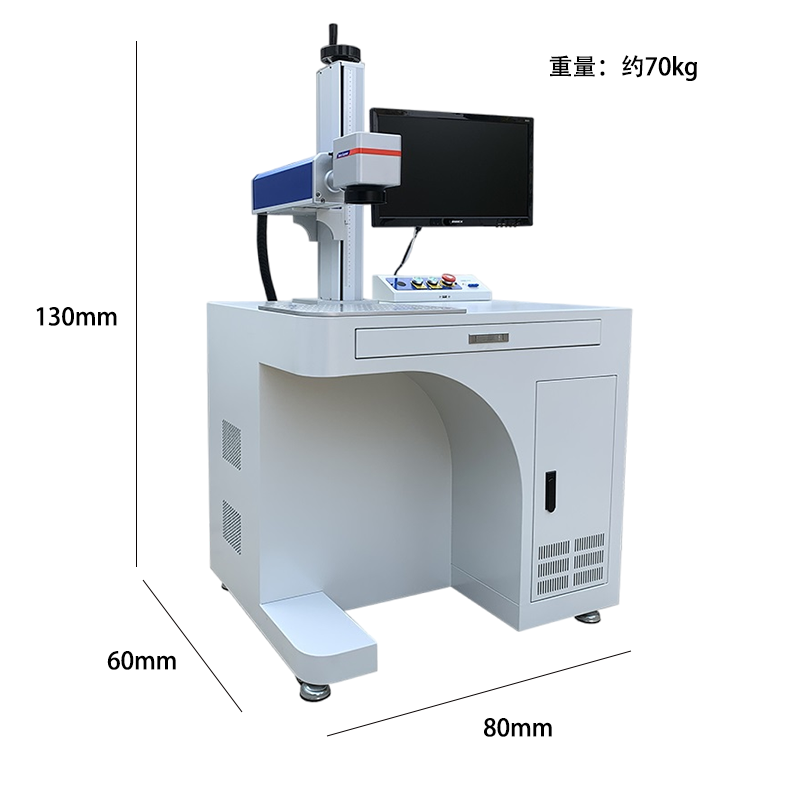
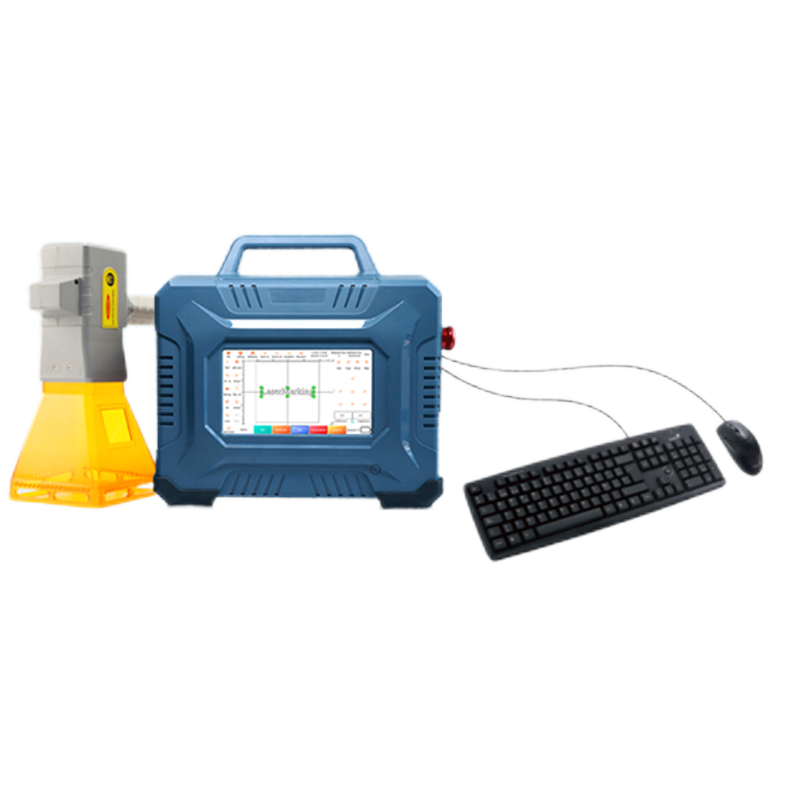
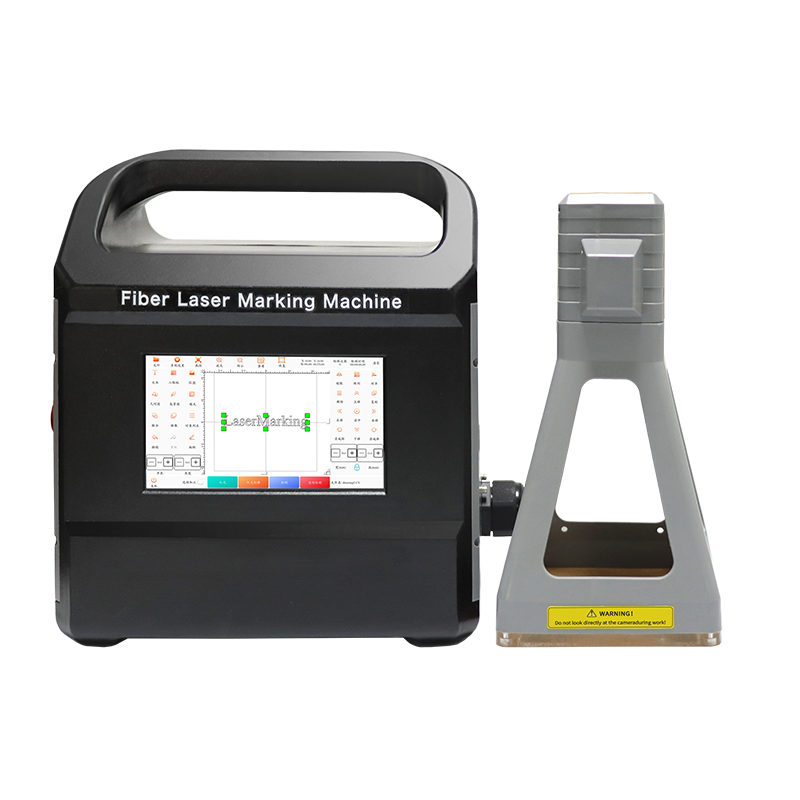
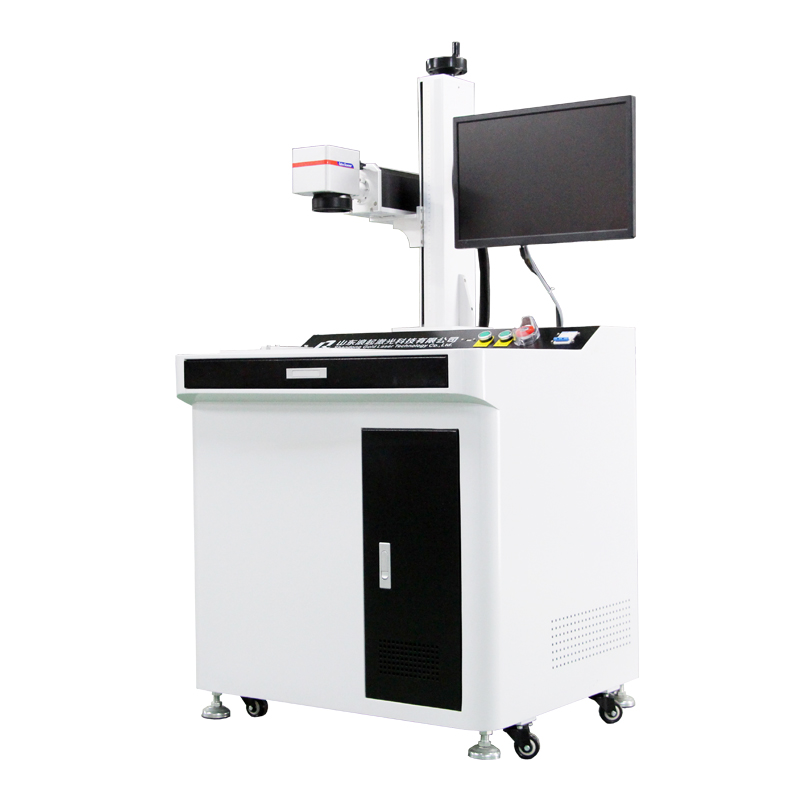
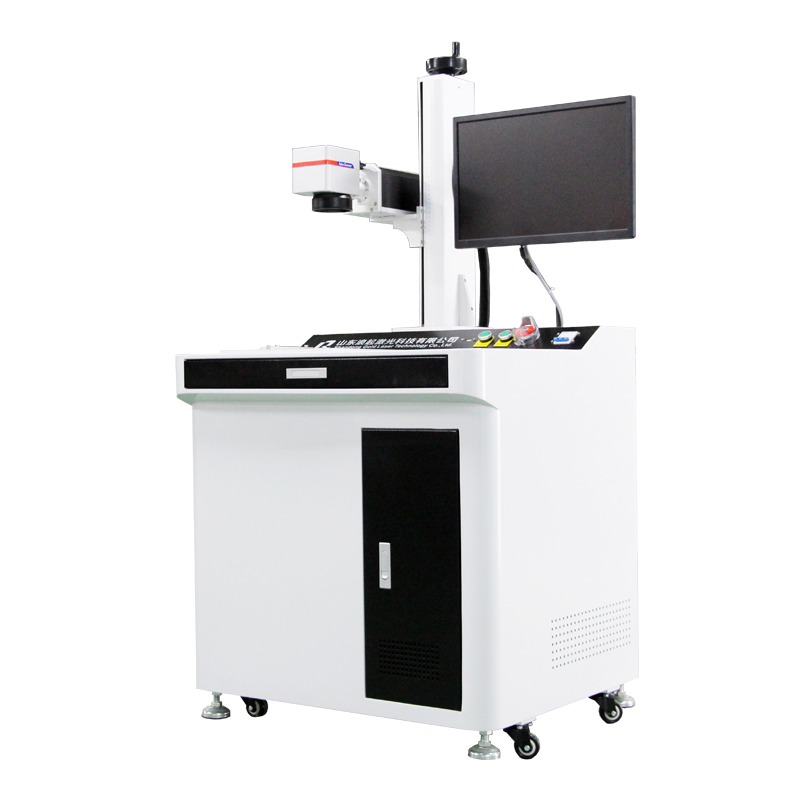
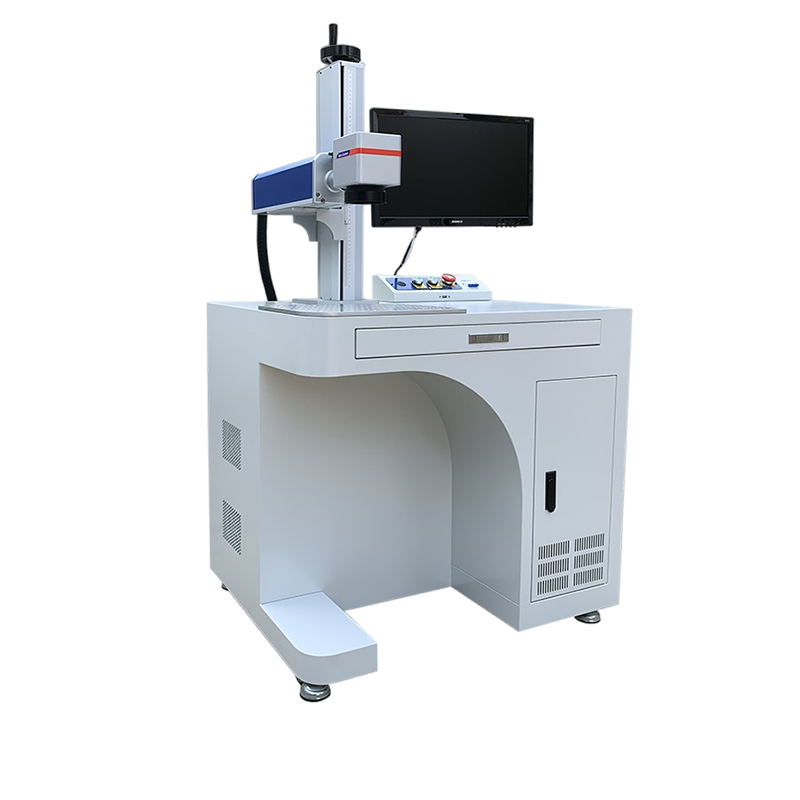
Of course. Here is a comprehensive guide to the parameter settings of a fiber laser marking machine, broken down from fundamental concepts to advanced material-specific advice.
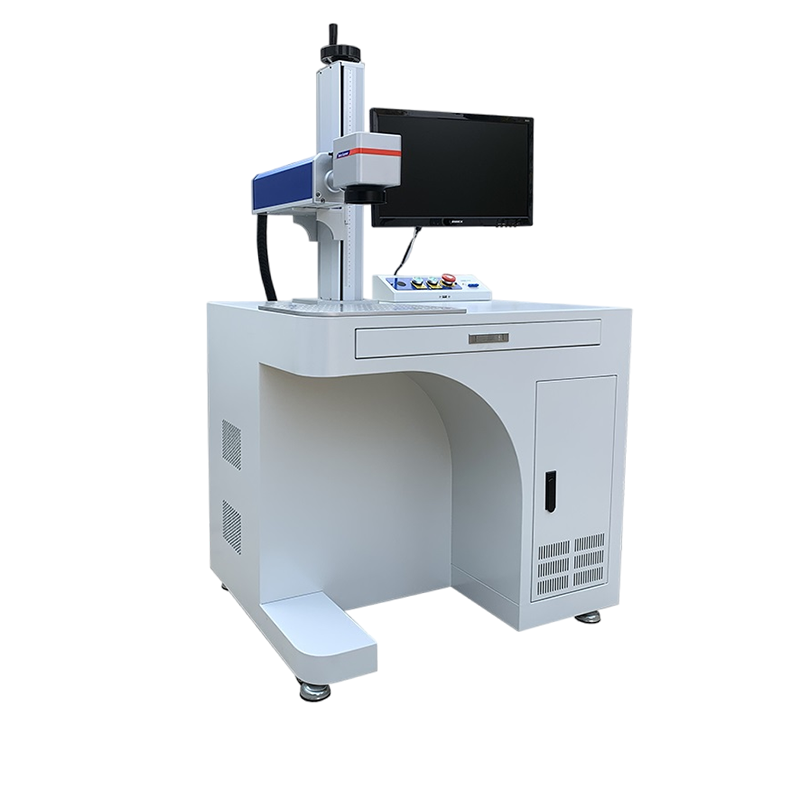
Core Principle of Fiber Laser Marking
Fiber lasers are solid-state lasers that use a fiber optic cable doped with rare-earth elements (like Ytterbium) as the gain medium. They are ideal for marking metals and some plastics due to their high peak power, excellent beam quality, and efficiency.
The marking process is primarily annealing (for metals), engraving (removing material), or color change/foaming (for plastics) caused by the laser beam's energy interacting with the material's surface.
The Three Fundamental Parameters
These three settings are the most critical and are interdependent. Think of them as a triangle where adjusting one affects the others.
1. Power (%)
What it is: The intensity of the laser beam. Measured as a percentage of the machine's maximum power (e.g., 20%, 50%, 100%).
Effect:
Low Power: Lighter marks, annealing (color change on metals without depth), surface cleaning.
High Power: Deeper engraving, faster marking, material removal (ablation). Too high can cause excessive melting, splatter, or unwanted depth.
Typical Range: 10% - 100%
2. Speed (mm/s)
What it is: How fast the galvanometer scanners (galvos) move the laser beam across the material.
Effect:
Low Speed: The laser dwells on one spot longer, delivering more energy. This results in a deeper, darker, or more pronounced mark. Can cause heat-affected zones (HAZ) or melting.
High Speed: The laser interacts with the material briefly, creating a shallower, lighter mark. Ideal for fine details and high-contrast surface marks. Prevents heat buildup.
Typical Range: 100 mm/s - 3000 mm/s
3. Frequency (Hz or kHz)
What it is: The pulse frequency of the laser. A continuous wave (CW) is a single, constant beam, while pulsed mode is a series of rapid on/off pulses.
Low Frequency (20-50 kHz): Long pauses between high-energy pulses. Good for deep engraving, material removal (ablation), and marking on rough surfaces. Creates a dot-like appearance.
High Frequency (80-200 kHz): Short pauses between lower-energy pulses. Good for smooth, annealed marks (e.g., black marks on stainless steel), fine details, and heat-sensitive materials. The mark appears more continuous.
Simple Analogy: Think of it like a hammer. Low frequency is hitting hard but slowly. High frequency is tapping lightly but very rapidly.
Other Important Parameters
4. Fill Parameters (Hatch)
For filling in large areas or creating solid shapes (like a logo), you use a fill pattern.
Hatch Spacing (or Line Spacing): The distance between each parallel scan line of the fill.
Wide Spacing: Faster marking, but you might see visible lines (striations).
Tight Spacing: Smoother, more solid fill but takes longer to mark.
Fill Type: The pattern used (e.g., uni-directional, cross-hatch, zig-zag). A cross-hatch pattern often provides the most uniform fill.
5. Q-Pulse Width (ns)
What it is: The duration of each individual laser pulse. This is an advanced parameter, often fixed or with limited adjustment on many standard machines.
Effect:
Short Pulse (<100ns): High peak power, precise, minimal HAZ. Good for fine features and cold marking.
Long Pulse (>100ns): Lower peak power, more thermal energy, better for deep engraving and harder materials.
6. Number of Passes
What it is: How many times the laser goes over the same path.
Effect: Multiple passes at lower power/speed can sometimes create a cleaner, deeper mark than a single pass at very high power, as it reduces heat stress and splatter.
Parameter Guidelines by Material
These are starting points. You MUST test on a scrap piece of the exact same material.
| Material | Goal | Power | Speed | Frequency | Notes |
|---|---|---|---|---|---|
| Stainless Steel | Black Annealing | Low (20-40%) | High (800-1500 mm/s) | High (100-200 kHz) | Creates a dark oxide layer. Clean surface is critical. |
| Deep Engraving | High (70-100%) | Low (100-500 mm/s) | Low (20-50 kHz) | Removes material. Can be polished afterwards. | |
| Anodized Aluminum | Removing Color | Medium (30-60%) | Medium (500-1000 mm/s) | Medium (50-100 kHz) | Vaporizes the thin colored layer, revealing silver metal. |
| Brass / Copper | Black Marking | Low-Med (30-50%) | Med-High (700-1200 mm/s) | High (100-200 kHz) | Can be tricky due to high reflectivity. |
| Engraving | High (80-100%) | Low (100-300 mm/s) | Low (20-50 kHz) | ||
| Plastics (ABS, Acrylic) | Foaming (Light) | Low (10-30%) | High (1000-2000 mm/s) | High (100-200 kHz) | Creates a light-colored, raised mark. |
| Carbonizing (Dark) | Medium (40-70%) | Slower (200-600 mm/s) | Medium (50-100 kHz) | Creates a dark mark. WARNING: Avoid PVC - it releases toxic chlorine gas. | |
| Ceramics / Glass | Engraving / Etching | High (80-100%) | Low (100-400 mm/s) | Low (20-50 kHz) | Creates a frosted, etched appearance. Can micro-crack if too powerful. |
Step-by-Step Tuning Process
Prepare Your Sample: Use a scrap piece of the exact same material (same alloy, same surface finish).
Use a Test Grid: Most marking software has a feature to create a parameter matrix. It will mark multiple squares with incrementally changing parameters (e.g., power increases left to right, speed increases top to bottom).
Start with Manufacturer Presets: Load a preset for your material type from the software library. This gives you a great baseline.
Adjust for Contrast/Depth: Examine your test grid.
Too faint/light? -> Increase Power or Decrease Speed.
Too deep/melted/burnt? -> Decrease Power or Increase Speed.
Mark is dotted, not smooth? -> Increase Frequency.
Mark is splattering? -> Decrease Power, Increase Frequency, or Increase Speed.
Fine-Tune Fill Parameters: If marking a solid area, adjust the hatch spacing until the fill is uniform without visible lines.
Save Your Recipe: Once you have a perfect result, save the parameter set with a descriptive name (e.g., "SS_Black_Annealing") for future use.
Pro Tips & Best Practices
Focus is Key: Always ensure the laser is perfectly focused on the material surface. An out-of-focus beam loses power and creates blurry marks.
Cleanliness: Oil, grease, and oxidation on the material surface will drastically affect mark quality and consistency. Always clean the part before marking.
Compressed Air: Using an air assist nozzle blows away debris and smoke during marking, preventing them from redepositing on the surface and resulting in a cleaner mark. It also helps cool the material.
Start Conservative: It's always better to start with lower power and higher speed and work your way up. You can't un-burn a part.

