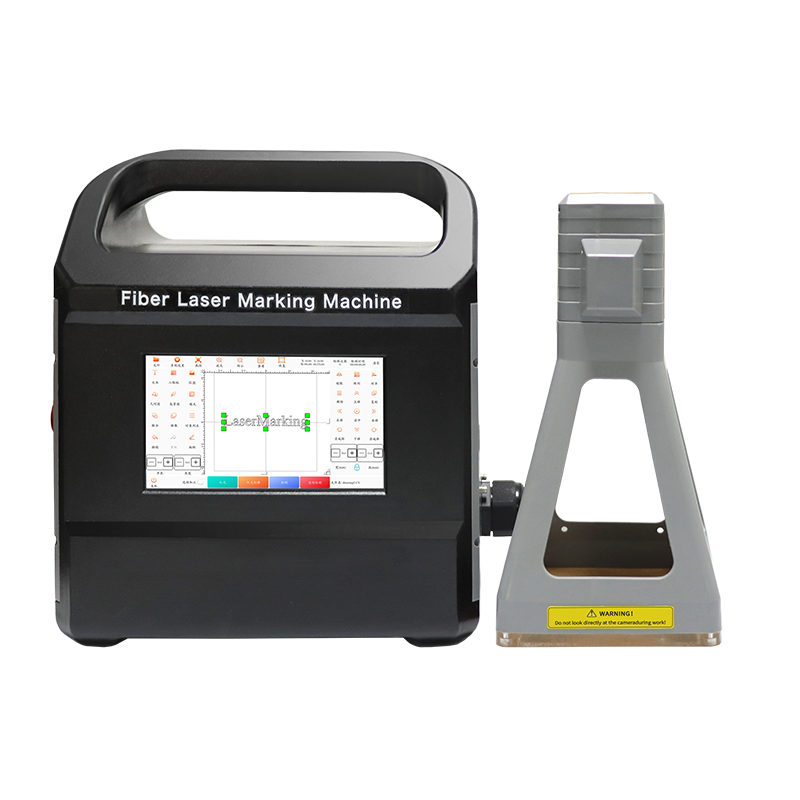


- Part 1: Installation & Setup
- A. Pre-Installation: Before You Start
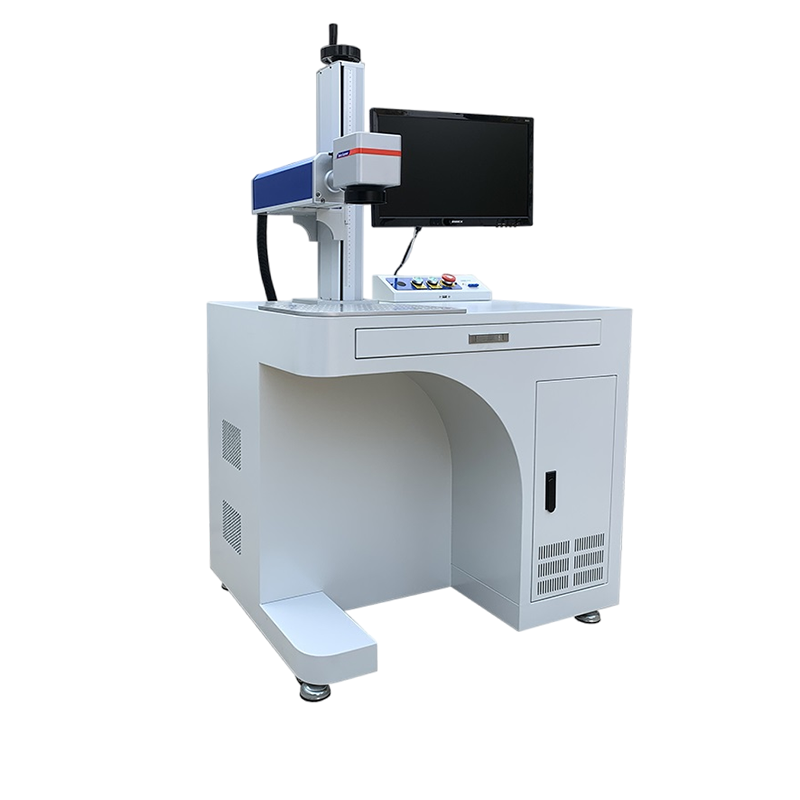
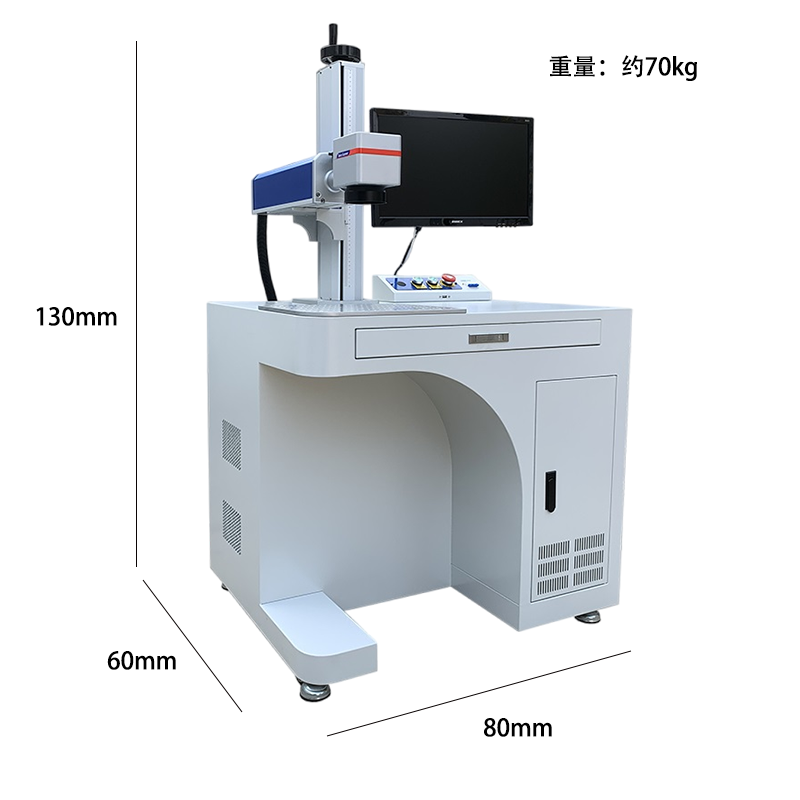
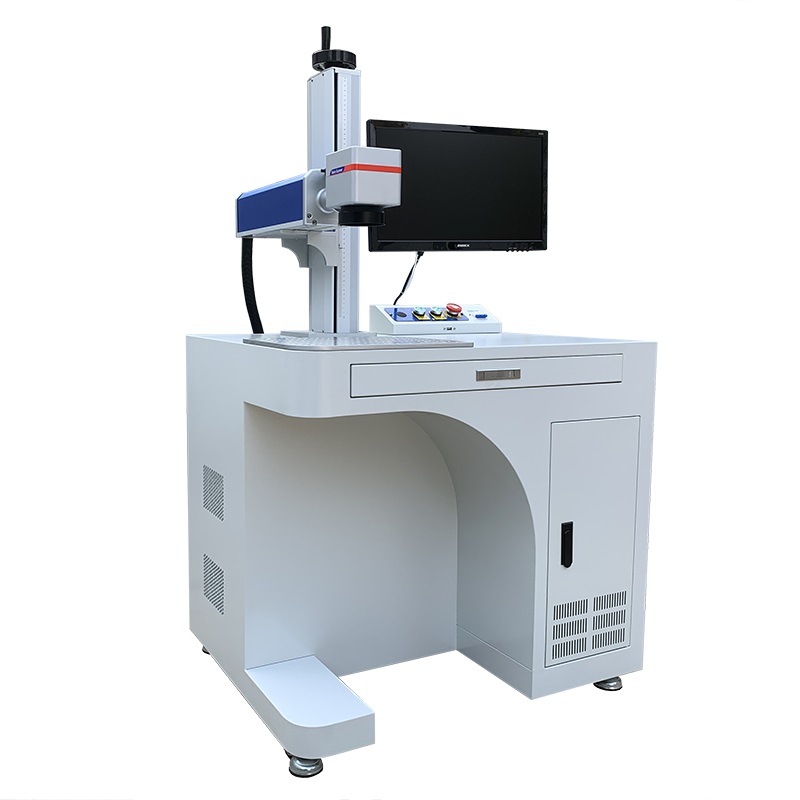
- B. Physical Installation Steps
- Part 2: Software Setup and First-Time Use
- Part 3: How to Use the Machine - The Marking Process
- A. Understanding Key Parameters (The "Recipe")
- B. Step-by-Step Marking Procedure
- Part 4: Essential Maintenance
- Troubleshooting Common Issues
Of course. Here is a comprehensive guide to installing and using a fiber laser marking machine, broken down into clear, step-by-step instructions.

Part 1: Installation & Setup
Proper installation is crucial for the machine's performance, longevity, and most importantly, your safety.
A. Pre-Installation: Before You Start
Choose the Right Location:
Ventilation: The laser generates fumes and ozone when marking. The area must be well-ventilated. You MUST connect the air pump (for air-assisted marking) and a fume extractor to remove these byproducts. Inhaling them is hazardous.
Environment: Place the machine on a stable, level, and vibration-free surface. Avoid areas with extreme temperature fluctuations, high humidity, or excessive dust.
Power Supply: Ensure you have the correct voltage and amperage outlet (e.g., 110V/220V). Use a dedicated circuit to avoid power fluctuations that can damage the laser source. A voltage stabilizer is highly recommended in areas with unstable power.
Space: Allow enough space around the machine for operator access, material loading, and ventilation equipment.
Safety First:
Laser Safety Glasses: NEVER operate the laser without the correct wavelength (typically 1060-1080nm) laser safety glasses. Regular sunglasses are not sufficient.
Warning Signs: Place "Laser Hazard" signs on the doors to alert others.
Fire Extinguisher: Keep a Class D (metal fire) or CO2 fire extinguisher nearby. The laser can ignite certain materials (e.g., paper, plastic, cloth).
B. Physical Installation Steps
Unboxing: Carefully remove the machine and all accessories. Check for any shipping damage.
Assemble the Stand: If your machine comes with a separate stand, assemble it according to the manual.
Mount the Laser Head: The laser head (galvo system) is often pre-installed. If not, carefully mount it onto the arm or frame.
Connect Cables:
Power: Connect the main power cable from the machine to your outlet.
Laser Source to Galvo Head: Connect the fiber optic cable between the laser source and the marking head. Handle this cable with extreme care. Do not bend it too sharply (observe the minimum bend radius) or kink it, as this can break the internal fiber.
Air Assist: Connect the air compressor hose to the machine's air input. Air assist helps clear debris, prevent oxidation on metals, and cool the mark area.
Fume Extractor: Connect the hose from the fume extractor to the exhaust port on the machine.
Computer: Connect the USB or Ethernet cable from the control box to your computer.
Power On: Turn on the main power switch on the machine's control box. Then turn on the computer.
Part 2: Software Setup and First-Time Use
Most fiber lasers use dedicated marking software like EzCad2, which is very common.
Install the Software: Install the marking software from the provided CD or USB drive onto your computer. Install any necessary drivers.
Configure the Software:
Open the software.
Go to the software's configuration or settings menu (e.g., in EzCad2, press
F3).Select the correct controller model and laser source type (this is often pre-configured).
Set the marking parameters for your first test (see parameter guide below).
Focus the Laser: This is the most critical step for a clear mark.
Place your sample material on the marking bed.
Use the manual focus tool (often a metal rod or block with a known height) provided with the machine. Place it next to the material.
Manually raise or lower the bed (or the laser head) until the red pointer light is sharply focused on the material at the same height as the top of the focus tool.
Alternative Method: Some operators prefer to mark a simple line and adjust the height up and down until the line is at its thinnest and most powerful. This is the true focal point.
Part 3: How to Use the Machine - The Marking Process
A. Understanding Key Parameters (The "Recipe")
Finding the right settings is a process of experimentation. Always test on a scrap piece first.
Power (%): The intensity of the laser beam. Higher power creates deeper/darker marks but can damage sensitive materials. (e.g., Steel: 60-100%, Anodized Aluminum: 15-30%, Plastic: 5-15%).
Speed (mm/s): How fast the laser beam moves. Slower speed means more energy delivered to one spot, resulting in a deeper/darker mark. High speed is good for fine details and preventing heat buildup.
Frequency (kHz): The pulse rate of the laser. This is material-specific:
Low Frequency (20-50 kHz): Creates a "pecking" effect, ideal for deep engraving and annealing (black marks on steel).
High Frequency (80-120 kHz): Creates a "smoother" effect, ideal for surface marking, cleaning, and coloring.
Q-Pulse Width (ns): Advanced setting. A shorter pulse is sharper for fine details; a longer pulse is more energetic for deeper engraving.
Fill Options (Hatch): For filling areas (like logos or text), you can adjust the hatch line spacing and angle. Tighter spacing creates a smoother fill but takes longer.
B. Step-by-Step Marking Procedure
Design or Import: Create your text, logo, barcode, or serial number within the software, or import a vector file (e.g., .dxf, .ai, .plt).
Set Parameters: Select the object in the software and input your best guess for Power, Speed, and Frequency based on your material.
Set Marking Origin: Use the red pointer to show where the laser will start marking. You can move the origin point (0,0 coordinates) to align with your material.
TEST! Always run a test mark on a scrap piece of the same material.
Evaluate and Adjust: Check the test mark. Is it too faint? Increase power or decrease speed. Is it burned or melting? Decrease power or increase speed. Adjust frequency for the desired effect.
Mark the Final Product: Once the test is perfect, place your final product in the machine and click "Mark" or "Start" in the software.
Post-Processing (if needed): Some marks (e.g., annealing on stainless steel) may benefit from a quick wipe with isopropyl alcohol to remove any slight residue and reveal a clean, dark mark.
Part 4: Essential Maintenance
Daily: Clean the lens and protective window on the laser head using lens cleaning paper and high-purity alcohol. Dirty lenses scatter the laser beam, reducing power and marking quality.
Weekly/Monthly: Check all cables and connections for wear. Clean the worktable and the interior of the machine to remove dust.
As Needed: Clean the galvanometer mirrors (X and Y mirrors). This is a more delicate procedure and may require a technician if you are not confident.
Annual: Consider a professional service check-up for the laser source and galvo system.
Troubleshooting Common Issues
Faint/Weak Mark:
Laser is out of focus. Re-focus.
Lens is dirty. Clean it.
Parameters are wrong. Increase power, decrease speed.
Air assist is blowing too hard and cooling the mark. Reduce air pressure.
Mark is Not Clear/Blurry:
Definitely out of focus. Re-focus carefully.
Galvo scanner may need calibration (consult manual or technician).
"Zig-Zag" or Misaligned Lines:
Fill (hatch) angle is set too low. Change it to 45 degrees.
Fill line spacing is too wide. Decrease the spacing.
Software Can't Connect to Laser:
Check USB/Ethernet cable.
Restart software and laser controller.
Re-install drivers.
Final Warning: Always prioritize safety. Respect the laser's power. Never leave the machine running unattended, especially with flammable materials.