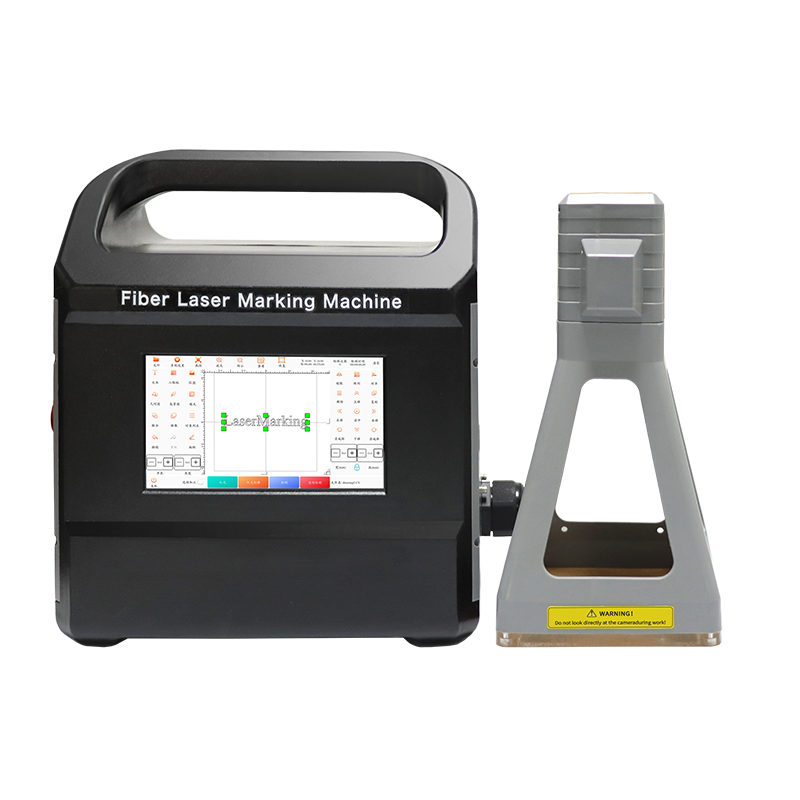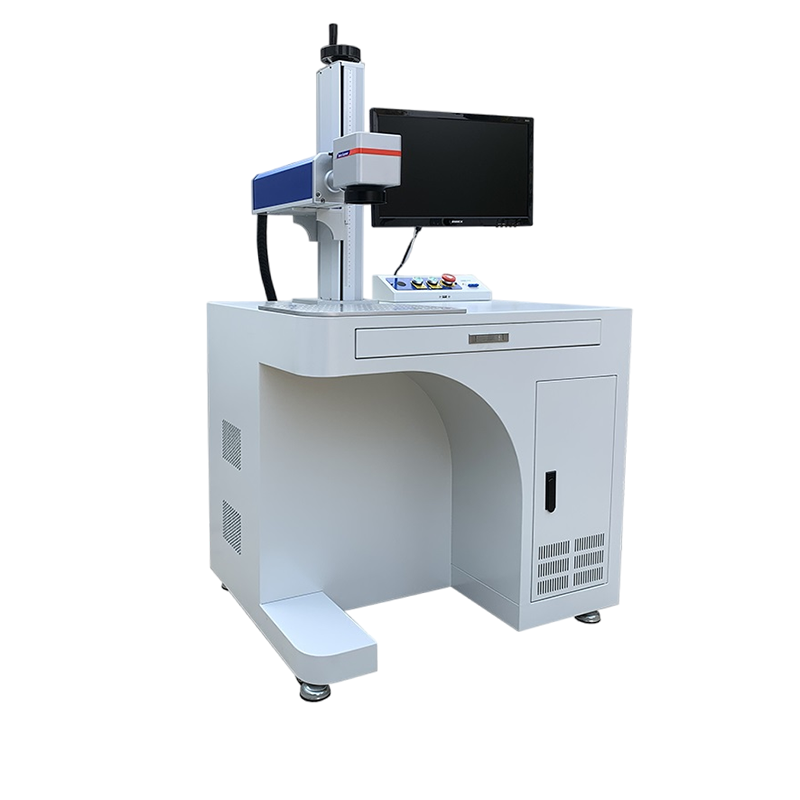
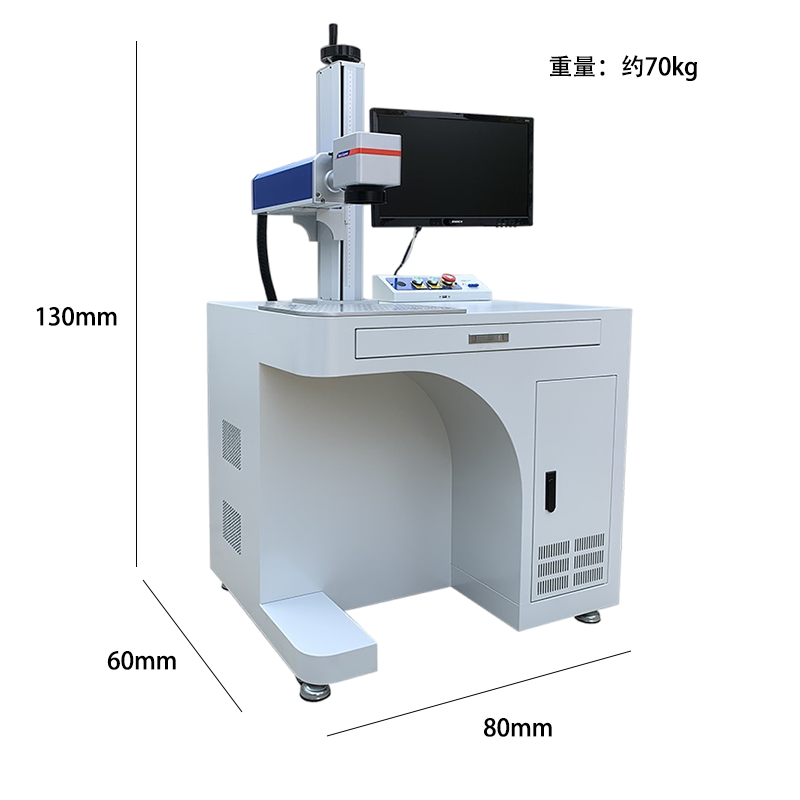


A fiber laser marking machine is an excellent tool for marking steel raw materials due to its precision, speed, and durability. Here are detailed breakdown of how it works and its advantages for steel marking:
1. How Fiber Laser Marking Works on Steel
Fiber lasers use a concentrated beam of light (typically 1064 nm wavelength) to alter the surface of steel without physical contact. The process involves:
Absorption: The laser energy is absorbed by the steel surface.
Melting/Vaporization: Depending on power and speed, the laser can melt, oxidize, or slightly vaporize the surface.
Contrast Formation: The marking appears due to color changes (annealing), engraving, or surface texturing.
2. Common Marking Techniques for Steel
Annealing Marking (for dark/black marks on stainless steel) – Low heat creates oxidation without engraving.
Engraving/Etching – Removes a thin layer of material for permanent marks.
Deep Engraving – Higher power settings for deeper marks (used for serial numbers, barcodes).
Color Marking – Adjusting laser parameters can produce different colors on stainless steel.
3. Advantages of Fiber Laser Marking on Steel
✔ High Precision – Fine details, small text (up to 0.01mm resolution).
✔ Permanent & Durable – Resistant to heat, chemicals, and abrasion.
✔ Non-Contact Process – No tool wear, minimal material distortion.
✔ Fast & Efficient – Marks in seconds (ideal for mass production).
✔ Versatile – Works on carbon steel, stainless steel, alloy steel, etc.
4. Applications in Steel Marking
Part Identification (Serial numbers, QR codes, barcodes)
Branding & Logos
Industrial Labels (Grade, batch numbers, compliance marks)
Tool & Machinery Marking
Security & Anti-Counterfeiting Marks
5. Recommended Laser Settings for Steel
| Parameter | Typical Range |
|---|---|
| Laser Power | 10W - 50W (adjust based on depth) |
| Frequency | 20kHz - 100kHz |
| Speed | 100mm/s - 2000mm/s |
| Pulse Width | Adjust for contrast |
| Focal Length | 100mm - 200mm (fine-tune for sharpness) |
6. Best Practices for Optimal Results
Surface Cleaning – Remove oil, rust, or coatings before marking.
Focus Adjustment – Ensure the laser is correctly focused for sharp marks.
Test Parameters – Adjust power/speed for desired contrast/depth.
Use Assist Gases (if needed) – Prevents oxidation in some cases.