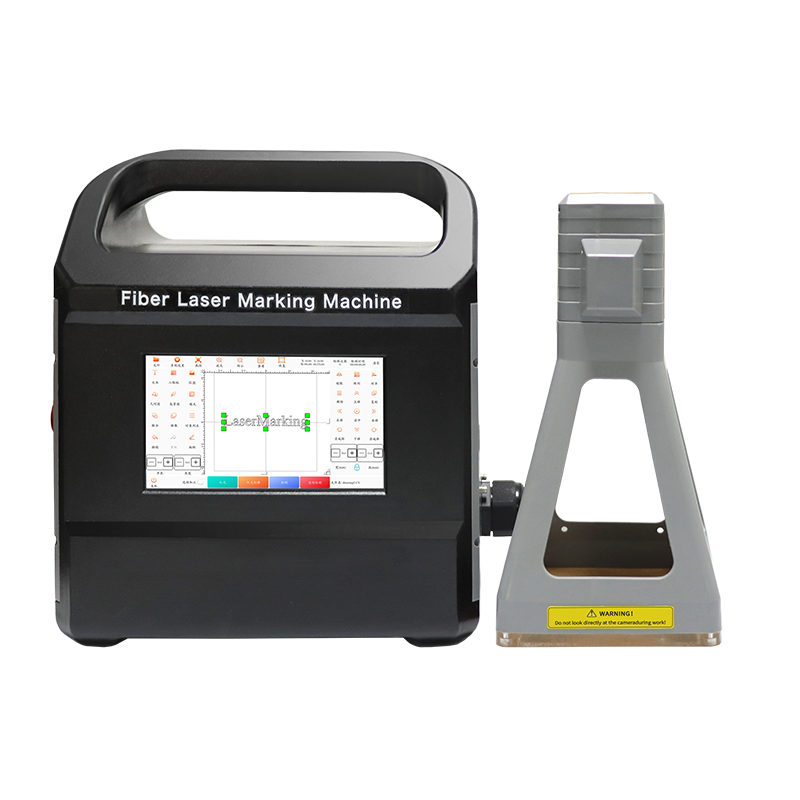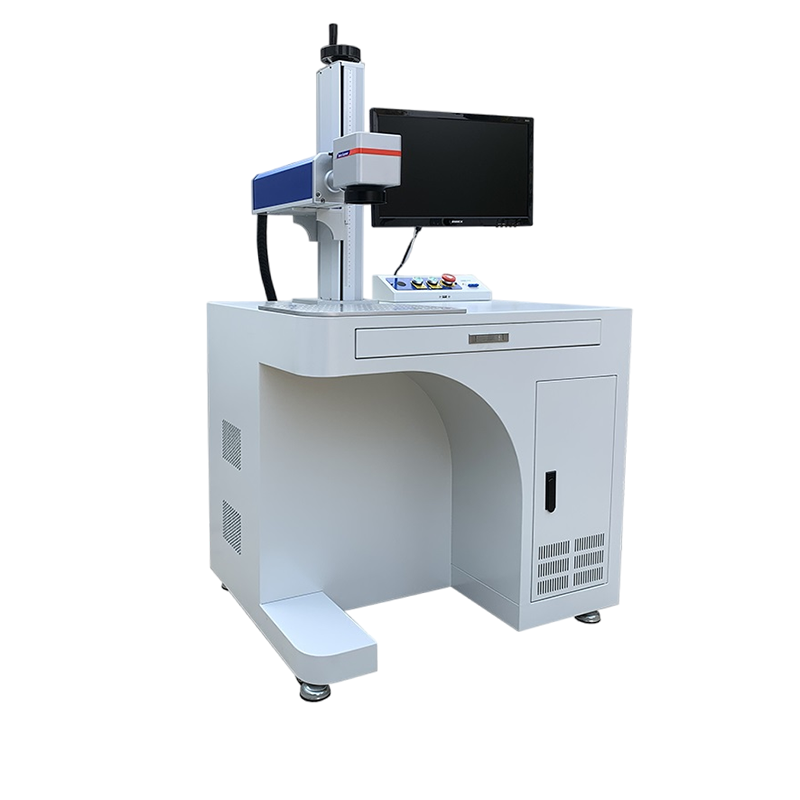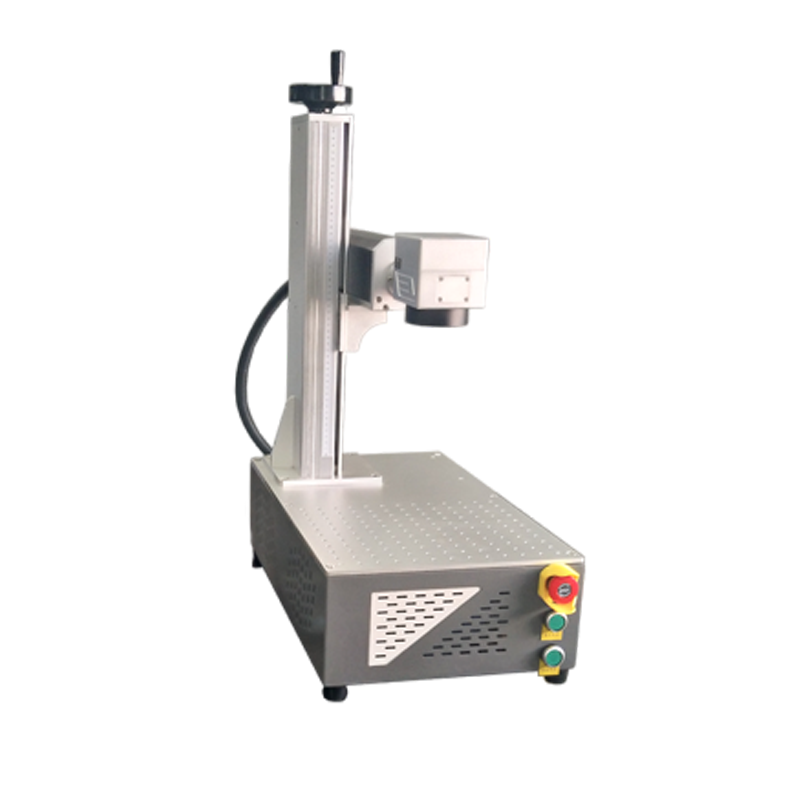

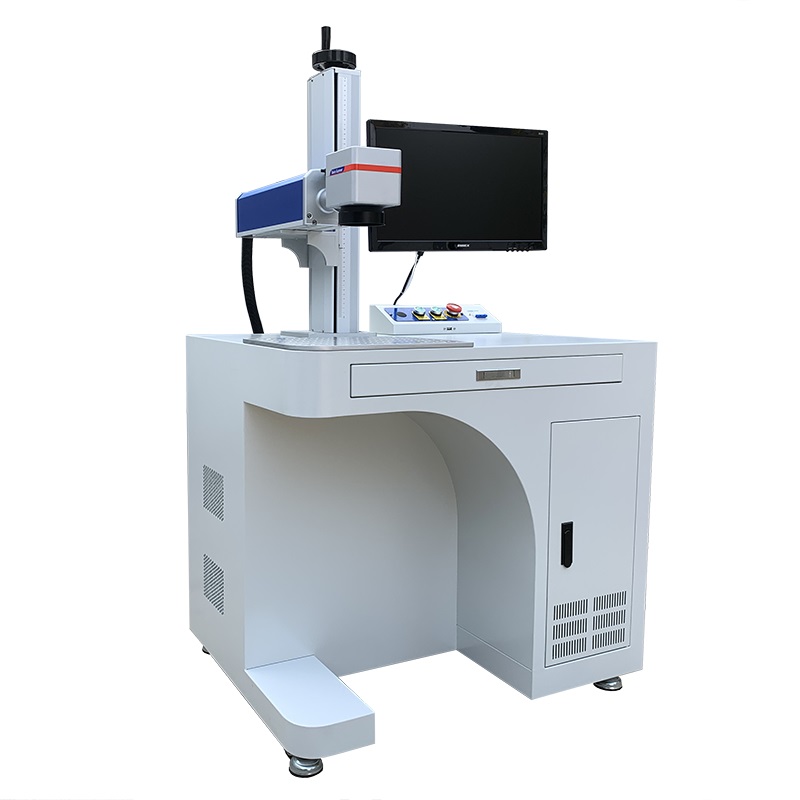


Fiber Laser Marking Machine Installation & Operation Process
Installation Process
1. Unpacking and Inspection
Carefully unpack the machine and check all components against the packing list
Inspect for any visible damage during transportation
Verify all accessories are included (power cables, USB cables, air pump if applicable, etc.)
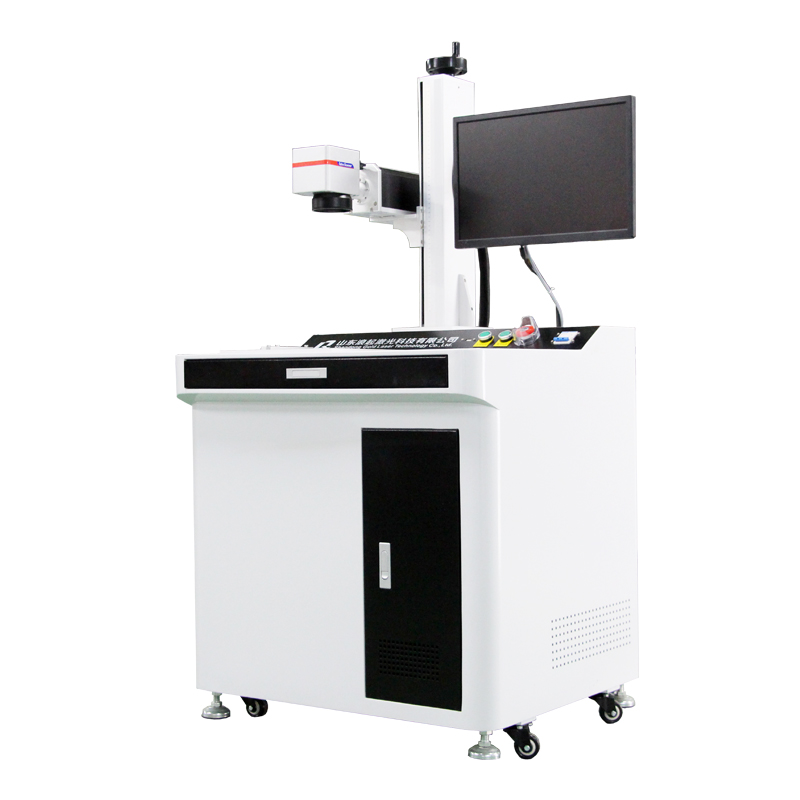
2. Machine Placement
Place the machine on a stable, vibration-free work surface
Ensure adequate space around the machine for ventilation and operation
Keep away from direct sunlight, moisture, and extreme temperatures
3. Electrical Connections
Connect to proper power supply (check voltage requirements - typically 110V/220V)
Ensure proper grounding of the machine
Connect to computer if required (via USB or network)
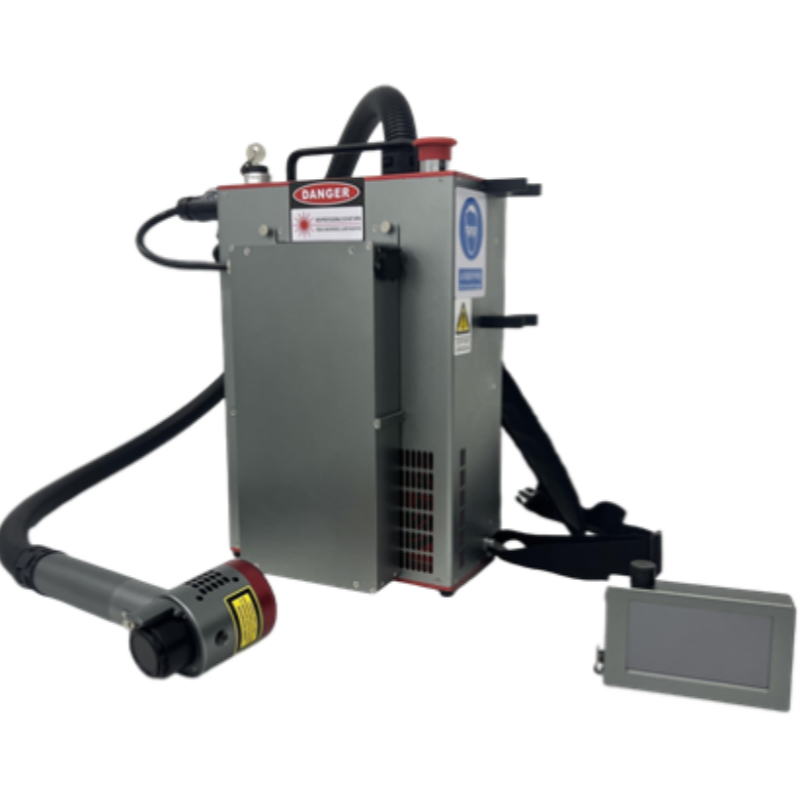
4. Cooling System Setup
For water-cooled models: fill with distilled water and check circulation
For air-cooled models: ensure ventilation openings are unobstructed
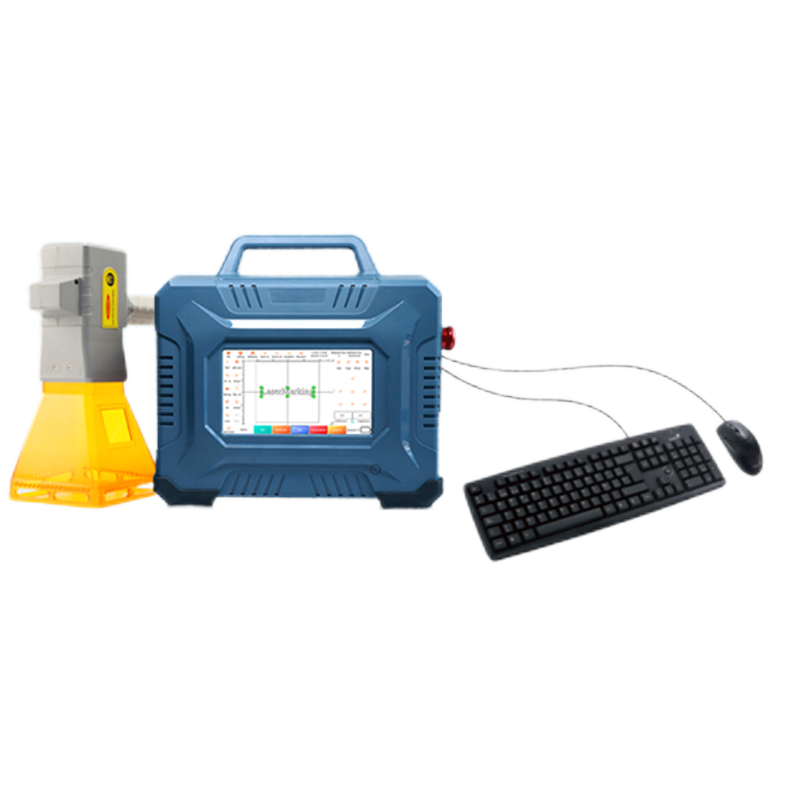
5. Software Installation
Install the marking software on the connected computer
Install necessary drivers
Configure software settings according to machine specifications
Operation Process
1. Startup Procedure
Turn on main power switch
Start the cooling system (if separate)
Power on the laser marking machine
Launch the marking software
2. Parameter Setting
Adjust parameters based on material:
Laser power (typically 20-100%)
Marking speed (mm/s)
Frequency (kHz)
Filling type (hatching, outline, etc.)
Q-switch settings (if applicable)
3. Focus Adjustment
Place sample material on work table
Adjust Z-axis to achieve proper focal length (use focus tool if provided)
Test mark to verify focus quality
4. Marking Operation
Import or create design in the marking software
Position material on work table (use fixtures if necessary)
Set origin point (manual or automatic)
Preview marking path (simulation if available)
Start marking process
5. Shutdown Procedure
Turn off laser power
Close marking software
Power down the machine
Maintain cooling system for recommended time (if water-cooled)
Turn off main power
Safety Precautions
Always wear appropriate laser safety glasses
Never operate with protective covers removed
Keep flammable materials away from work area
Follow all manufacturer safety guidelines
Provide proper ventilation for fumes when marking certain materials
Maintenance
Regular lens cleaning (use proper cleaning solution and techniques)
Check and clean ventilation filters
Monitor cooling system (water level, temperature)
Lubricate moving parts as recommended
Schedule professional maintenance as required